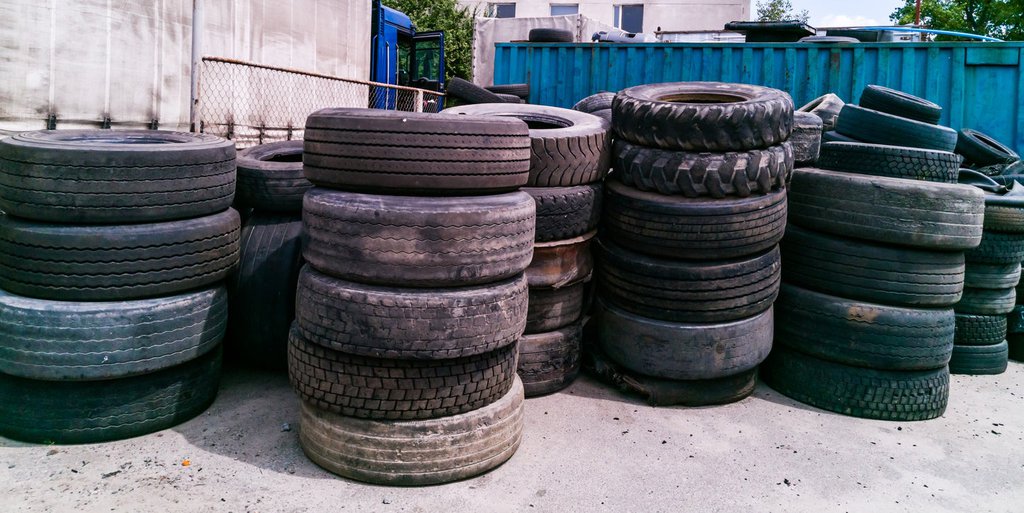
So many people look for new and creative ways to decorate their gardens during the summer, and the possibilities are endless! One can choose from simple decorative rocks here and there to flowers in specific patterns all over the yard. Or some people can have their children paint pots and place them about. Whatever people choose, they’re sure of one thing – the decoration needs to be beautiful! How about putting in a three-tier fountain but creating it yourself using old tires and other materials?

Materials for the Fountain
You may need to source a few more materials when starting your beautiful DIY project, but the results make it all worth it. First, get three old tires, plastic plant pots, and large tin cans. Then find some cement, sand, PVC pipe, a metal net, flex glue adhesive, spray paint, liquid sealant, rocks, a water pump, a drill, decorative rocks, screws, and a hammer. None of the tools and materials are too difficult to acquire, and once you have them all, you can begin creating beauty for your garden!

How to Begin
The most important thing for this three-tier fountain project is not to get stressed or overwhelmed from the beginning. If you follow the steps precisely, you should have no trouble completing the project. Start by carefully cutting the bottoms off the pots and then work on the tin cans. When you’ve laid them one on top of the other, you’ll use the PVC pipe to push it through all the aligned holes. Detailed instructions are available online for an even better start!

Go on to Step Two
Step two starts with you mixing the sand and cement with water. Once the mixture is ready, fill up the pot pieces connected by the pipe until you reach the top. It will be the center holding up your DIY fountain. While waiting for the mixture to dry, you can start preparing the tires. Cut up the rims and trace on a petal template, cut it out, and fix it together with screws. And it goes on until the tires are ready!

The Last Step
Once all your pieces are dry, complete, and solid, it’s time for the sealant. Apply it to the top petal-shaped tire to prevent leaks and the bottom of the other layers of the three-tier fountain. Then you can prepare the center holding piece by sanding and smoothing it after you’ve cut off the pot, tin can tape, and styrofoam. Then you can choose some fun paint!

The Final Touches
The final touches come after you’ve assembled your do-it-yourself project and painted it with beautiful colors to match your style and exterior. You then take the water pump and fill up each layer. Then you can add decorative rocks and even more decorations if you’re up for it!

Why pay so much money to go out and buy a ready-made three-tier fountain when you can create one using old tires, cement, and decorations? Sure, the directions and steps might seem overwhelming, but once you start, you won’t be able to stop until the beautiful result is before your eyes!